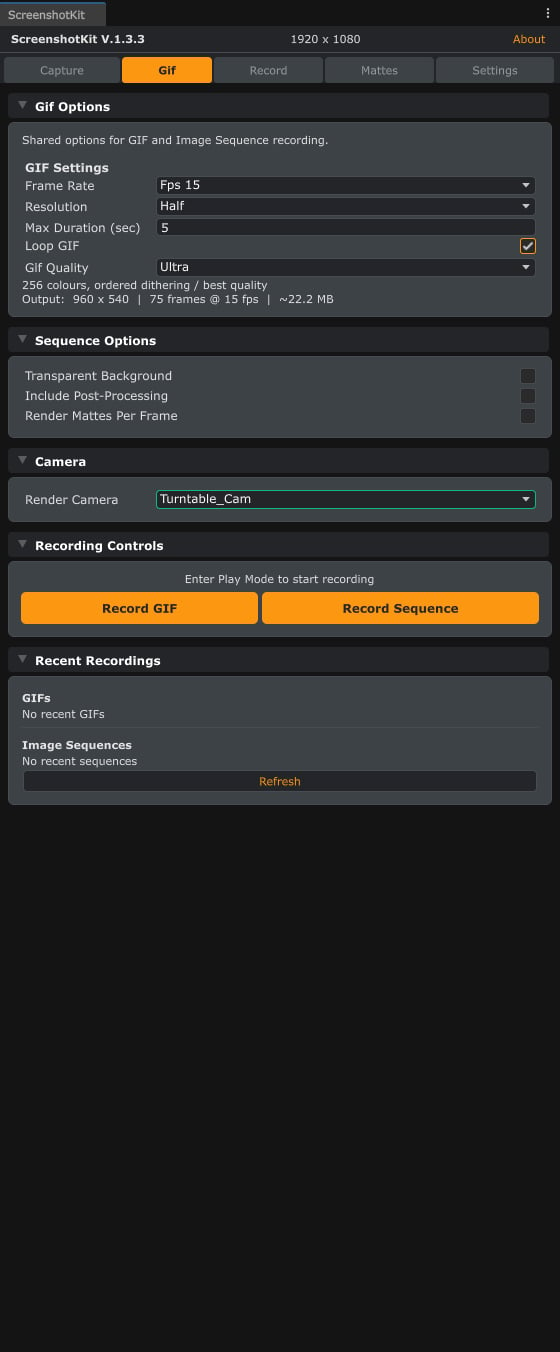
The Gif tab. GIF options at the top, then the shared sequence options, camera, recording controls, and recent recordings.
Steps
1
Open the Gif tab
In the ScreenshotKit window, click the Gif tab.
2
Assign a camera
Expand Camera and assign the camera to record from. If you leave this unset, ScreenshotKit defaults to
Camera.main at runtime.3
Configure Gif Options
Expand Gif Options and configure:
- Frame Rate: 5, 10, 15, 30, or 60 fps, or Custom up to 244 fps.
- Resolution: Full, Half, or Quarter of your base resolution.
- Max Duration: how long to record, in seconds.
- Loop GIF: whether the output GIF loops.
- Gif Quality: Low, Medium, High, or Ultra colour compression, trading quality against file size.
4
Record in Play Mode
Enter Play Mode. Press Start Recording in the window, play through whatever you want to capture, then press Stop Recording. Alternatively, tick Auto-Record on Play to start recording automatically when you enter Play Mode.
Result
A.gif file saved to your configured GIF output folder. The window shows the estimated file size up front and live recording progress while it captures, and recent recordings are listed at the bottom of the tab.
See also
- Runtime API: GifRecorder to record GIFs from your own scripts in a build.
- Video Recording when you want MP4 or WebM instead of GIF.